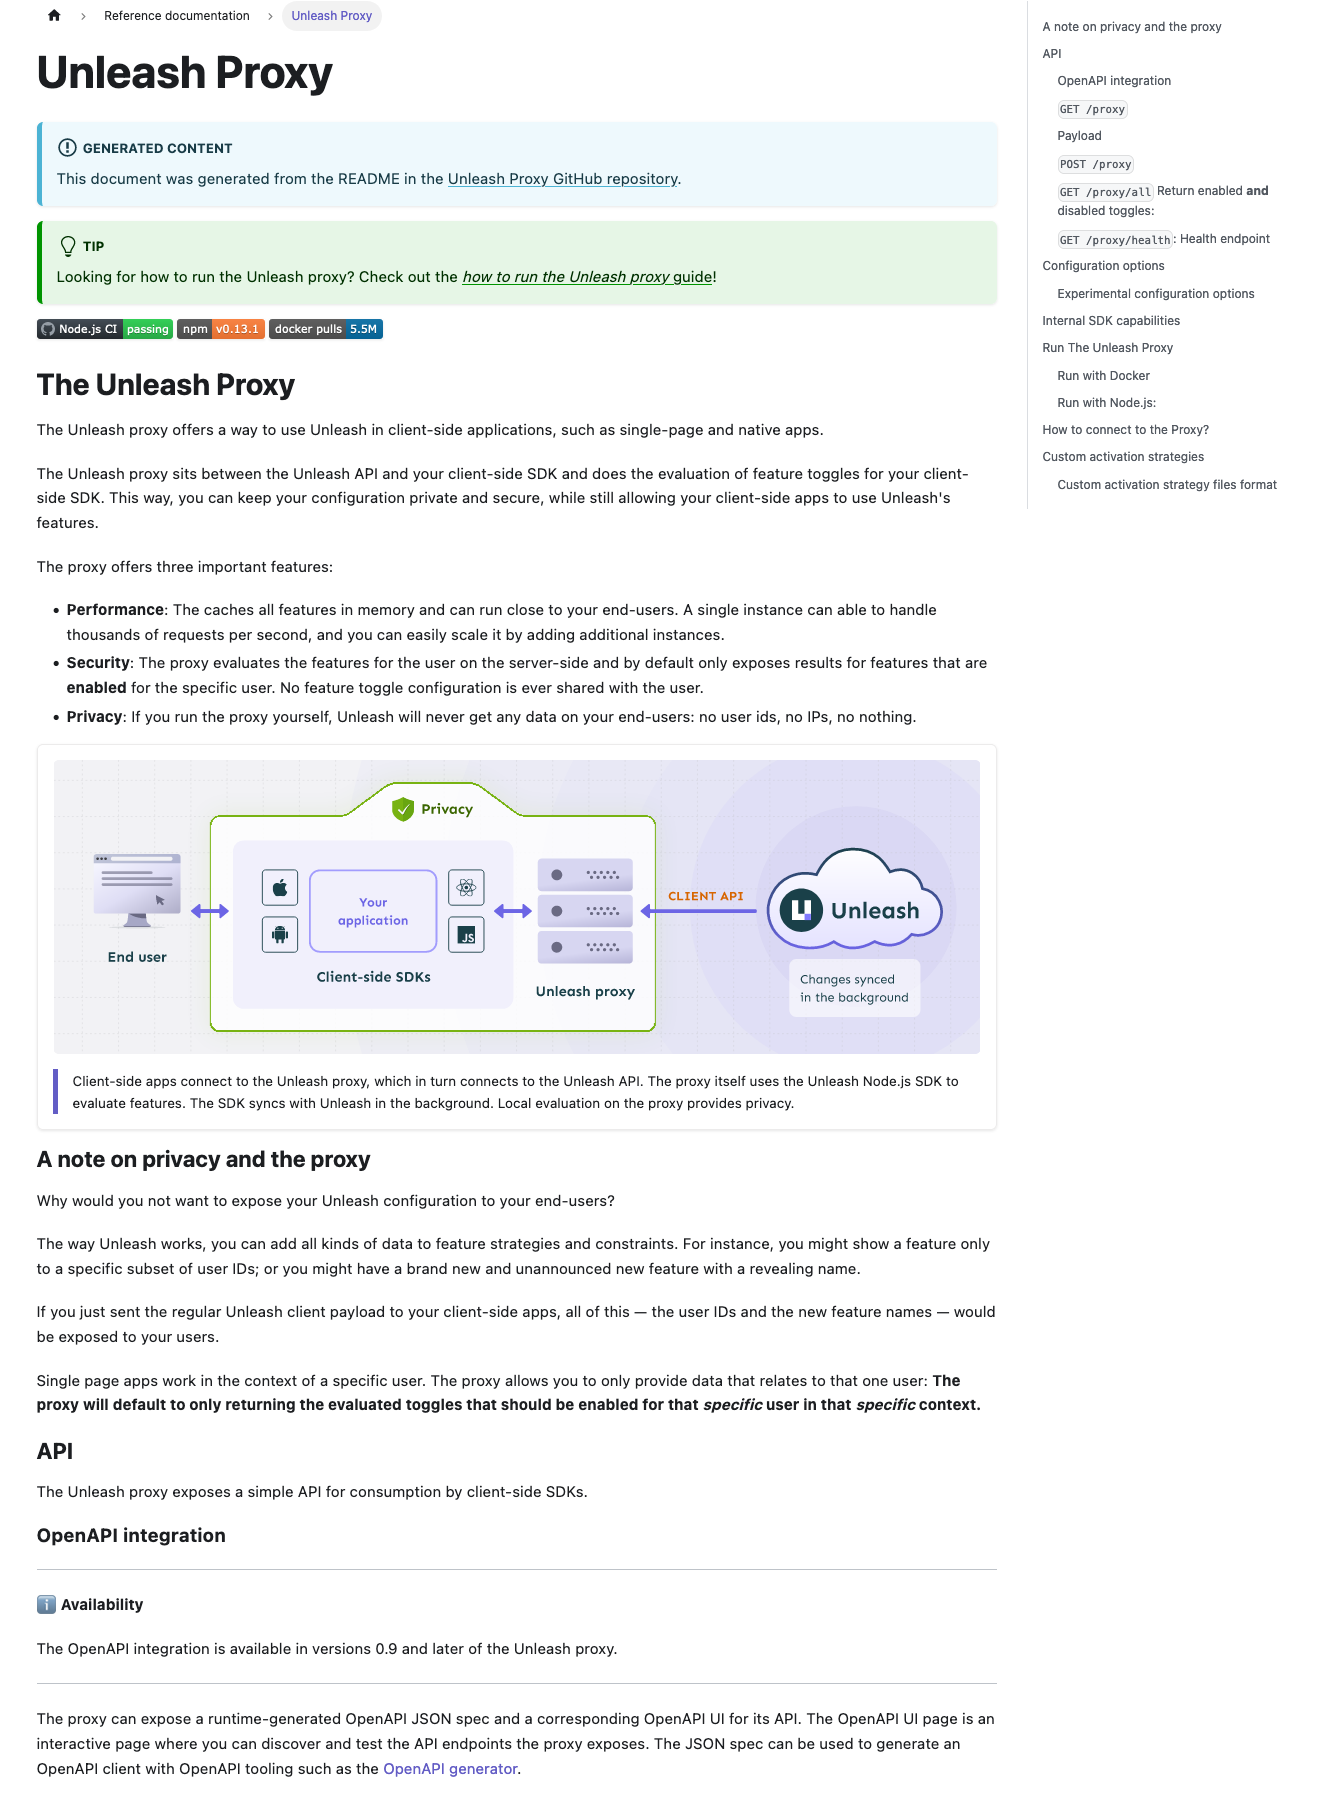
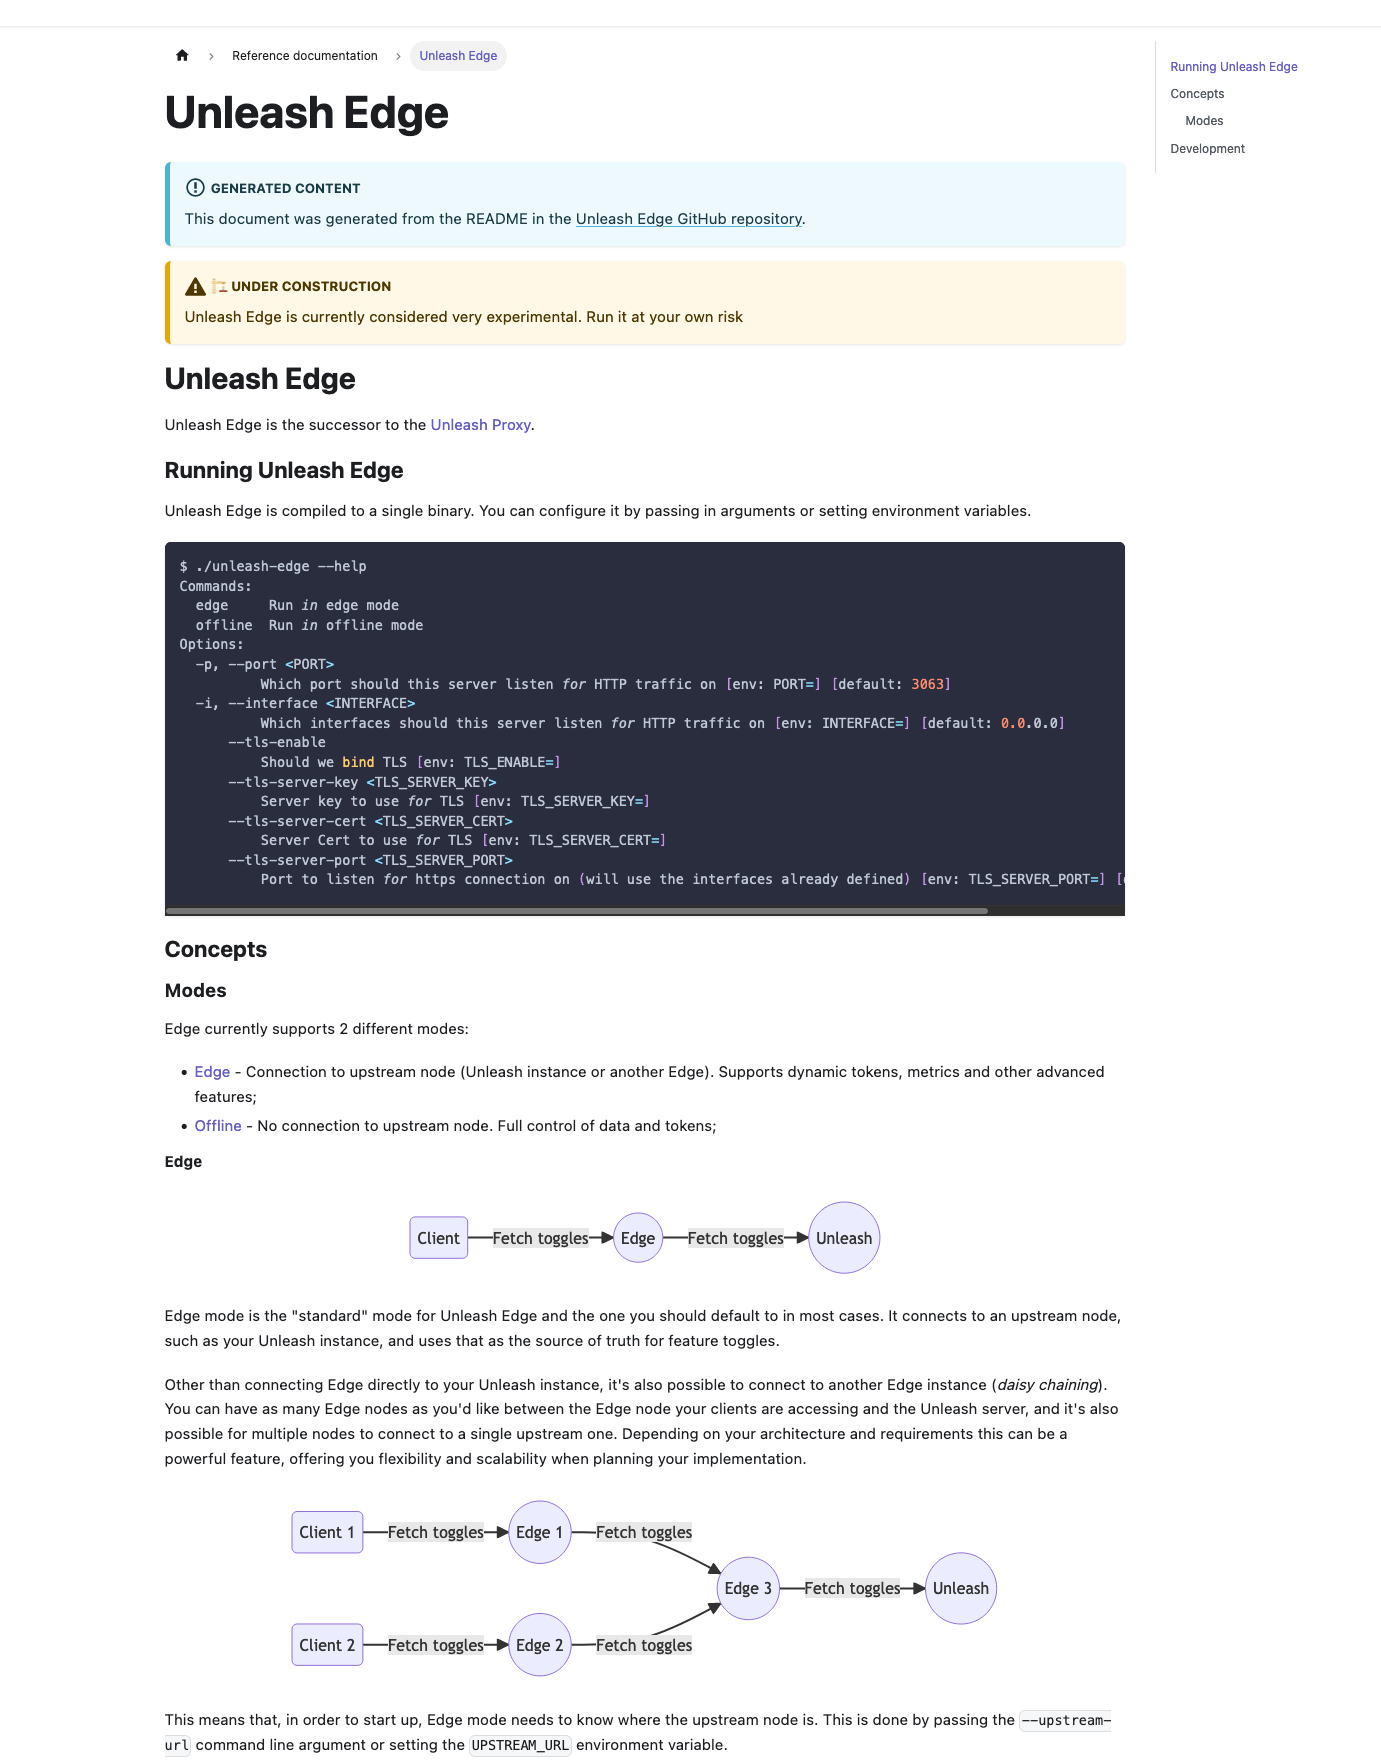
## What The main purpose of this PR is to 1. Delete the proxy docs in this repo and replace them with the proxy's GitHub readme. 2. Add the docs for Unleash Edge. ### Detailed change description This PR contains a lot of small changes in a large number of files. To make it easier to get an overview, here's a detailed description of what happens where: #### In the `website/docs`directory Except for the deletion of the proxy doc, all changes in this directory are rewriting internal links, so that they point to the newly generated document instead. #### `package.json` and `yarn.lock` When including the documentation for Edge, we also want to render the mermaid diagrams it uses. Docusaurus supports this via a plugin. All changes in these files are related to installing that plugin. #### `docusaurus.config.js` There's two types of changes in this file: 1. Mermaid-related changes: we ask docusaurus to render mermaid in markdown files and add the plugin 2. Document generation. There's some rewrites to the sdk doc generation plus an entirely new section that generates docs for Edge and the proxy #### `sidebars.js` Two things: 1. Add the edge docs 2. Move both the Edge and the proxy docs up a level, so that they're directly under "reference docs" instead of nested inside "unleash concepts". #### In the `website/remote-content` directory These are the remote content files. Previously, all of this lived only in a `readme-fns.js` file, but with the introduction of Edge and proxy docs, this has been moved into its own directory and refactored into three files (`shared`, `sdks`, `edge-proxy`). #### `custom.css` Style updates to center mermaid diagrams and provide more space around them. #### In `static/img` The image files that were included in the proxy doc and that have been deleted. ## Why For two reasons: 1. Reduce duplication for the proxy. Have one source of truth. 2. Add docs for edge. ## Discussion points and review wishes This is a big PR, and I don't expect anyone to do a line-by-line review of it, nor do I think that is particularly useful. Instead, I'd like to ask reviewers to: 1. Visit the [documentation preview](https://unleash-docs-git-docs-source-proxy-gh-unleash-team.vercel.app/reference/unleash-proxy) and have a look at both the proxy docs and the Edge docs. Potentially have a look at the SDK docs too to verify that everything still works. 2. Consider whether they think moving the proxy and edge docs up a level (in the sidebar) makes sense. 3. Let me know what slug they'd prefer for the Edge docs. I've gone with `unleash-edge` for now (so that it's `docs.getunleash.io/reference/unleash-edge`), but we could potentially also just use `edge`. WDYT? 4. Read through the detailed changes section. 5. Let me know if they have any other concerns or questions. ## Screenies The new proxy doc:  The new edge doc: 
8.6 KiB
| title |
|---|
| How to use custom activation strategies |
This guide takes you through how to use custom activation strategies with Unleash. We'll go through how you define a custom strategy in the admin UI, how you add it to a toggle, and how you'd implement it in a client SDK.
In this example we want to define an activation strategy offers a scheduled release of a feature toggle. This means that we want the feature toggle to be activated after a given date and time.
Step 1: Define your custom strategy
-
Navigate to the strategies view. Interact with the "Configure" button in the page header and then go to the "Strategies" link in the dropdown menu that appears.
-
Define your strategy. Use the "Add new strategy" button to open the strategy creation form. Fill in the form to define your strategy. Refer to the custom strategy reference documentation for a full list of options.
Step 2: Apply your custom strategy to a feature toggle
Navigate to your feature toggle and apply the strategy you just created.
Step 3: Implement the strategy in your client SDK
The steps to implement a custom strategy for your client depend on the kind of client SDK you're using:
- if you're using a server-side client SDK, follow the steps in option A.
- if you're using a front-end client SDK (Android, JavaScript, React, iOS), follow the steps in option B
Option A: Implement the strategy for a server-side client SDK
-
Implement the custom strategy in your client SDK. The exact way to do this will vary depending on the specific SDK you're using, so refer to the SDK's documentation. The example below shows an example of how you'd implement a custom strategy called "TimeStamp" for the Node.js client SDK.
const { Strategy } = require('unleash-client'); class TimeStampStrategy extends Strategy { constructor() { super('TimeStamp'); } isEnabled(parameters, context) { return Date.parse(parameters.enableAfter) < Date.now(); } } -
Register the custom strategy with the Unleash Client. When instantiating the Unleash Client, provide it with a list of the custom strategies you'd like to use — again: refer to your client SDK's docs for the specifics.
Here's a full, working example for Node.js. Notice the
strategiesproperty being passed to theinitializefunction.const { Strategy, initialize, isEnabled } = require('unleash-client'); class TimeStampStrategy extends Strategy { constructor() { super('TimeStamp'); } isEnabled(parameters, context) { return Date.parse(parameters.enableAfter) < Date.now(); } } const instance = initialize({ url: 'https://unleash.example.com/api/', appName: 'unleash-demo', instanceId: '1', // highlight-next-line strategies: [new TimeStampStrategy()], }); instance.on('ready', () => { setInterval(() => { console.log(isEnabled('demo.TimeStampRollout')); }, 1000); });
Option B: Implement the strategy for a front-end client SDK
Front-end client SDKs don't evaluate strategies directly, so you need to implement the custom strategy in the Unleash Proxy. Depending on how you run the Unleash Proxy, follow one of the below series of steps:
- If you're running the Unleash Proxy as a Docker container, refer to the steps for using a containerized Proxy.
- If you're using the Unleash Proxy via Node.js, refer to the steps for using custom strategies via Node.js.
With a containerized proxy
Strategies are stored in separate JavaScript files and loaded into the container at startup. Refer to the Unleash Proxy documentation for a full overview of all the options.
-
Create a strategies directory. Create a directory that Docker has access to where you can store your strategies. The next steps assume you called it
strategies -
Initialize a Node.js project and install the Unleash Client:
npm init -y && \ npm install unleash-client -
Create a strategy file and implement your strategies. Remember to export your list of strategies. The next steps will assume you called the file
timestamp.js. An example implementation looks like this:const { Strategy } = require('unleash-client'); class TimeStampStrategy extends Strategy { constructor() { super('TimeStamp'); } isEnabled(parameters, context) { return Date.parse(parameters.enableAfter) < Date.now(); } } module.exports = [new TimeStampStrategy()]; // <- export strategies -
Mount the strategies directory and point the Unleash Proxy docker container at your strategies file. The highlighted lines below show the extra options you need to add. The following command assumes that your strategies directory is a direct subdirectory of your current working directory. Modify the rest of the command to suit your needs.
docker run --name unleash-proxy --pull=always \
    -e UNLEASH_PROXY_CLIENT_KEYS=some-secret \
    -e UNLEASH_URL='http://unleash:4242/api/' \
    -e UNLEASH_API_TOKEN=${API_TOKEN} \
    # highlight-start
    -e UNLEASH_CUSTOM_STRATEGIES_FILE=/strategies/timestamp.js \
    --mount type=bind,source="$(pwd)"/strategies,target=/strategies \
    # highlight-end
    -p 3000:3000 --network unleash unleashorg/unleash-proxy
When running the proxy with Node.js
The Unleash Proxy accepts a customStrategies property as part of its initialization options. Use this to pass it initialized strategies.
-
Install the
unleash-clientpackage. You'll need this to implement the custom strategy:npm install unleash-client -
Implement your strategy. You can import it from a different file or put it in the same file as the Proxy initialization. For instance, a
TimeStampStrategycould look like this:const { Strategy } = require('unleash-client'); class TimeStampStrategy extends Strategy { constructor() { super('TimeStamp'); } isEnabled(parameters, context) { return Date.parse(parameters.enableAfter) < Date.now(); } } -
Pass the strategy to the Proxy Client using the
customStrategiesoption. A full code example:const { createApp } = require('@unleash/proxy'); const { Strategy } = require('unleash-client'); class TimeStampStrategy extends Strategy { constructor() { super('TimeStamp'); } isEnabled(parameters, context) { return Date.parse(parameters.enableAfter) < Date.now(); } } const port = 3000; const app = createApp({ unleashUrl: 'https://app.unleash-hosted.com/demo/api/', unleashApiToken: '*:default.56907a2fa53c1d16101d509a10b78e36190b0f918d9f122d', clientKeys: ['proxy-secret', 'another-proxy-secret', 's1'], refreshInterval: 1000, // highlight-next-line customStrategies: [new TimeStampStrategy()], }); app.listen(port, () => // eslint-disable-next-line no-console console.log(`Unleash Proxy listening on http://localhost:${port}/proxy`), );


